

GOLF AS IT IS meant to be played
Play the course as you find it | Play the ball as it lies |
Play by the rules and in the spirit of the game
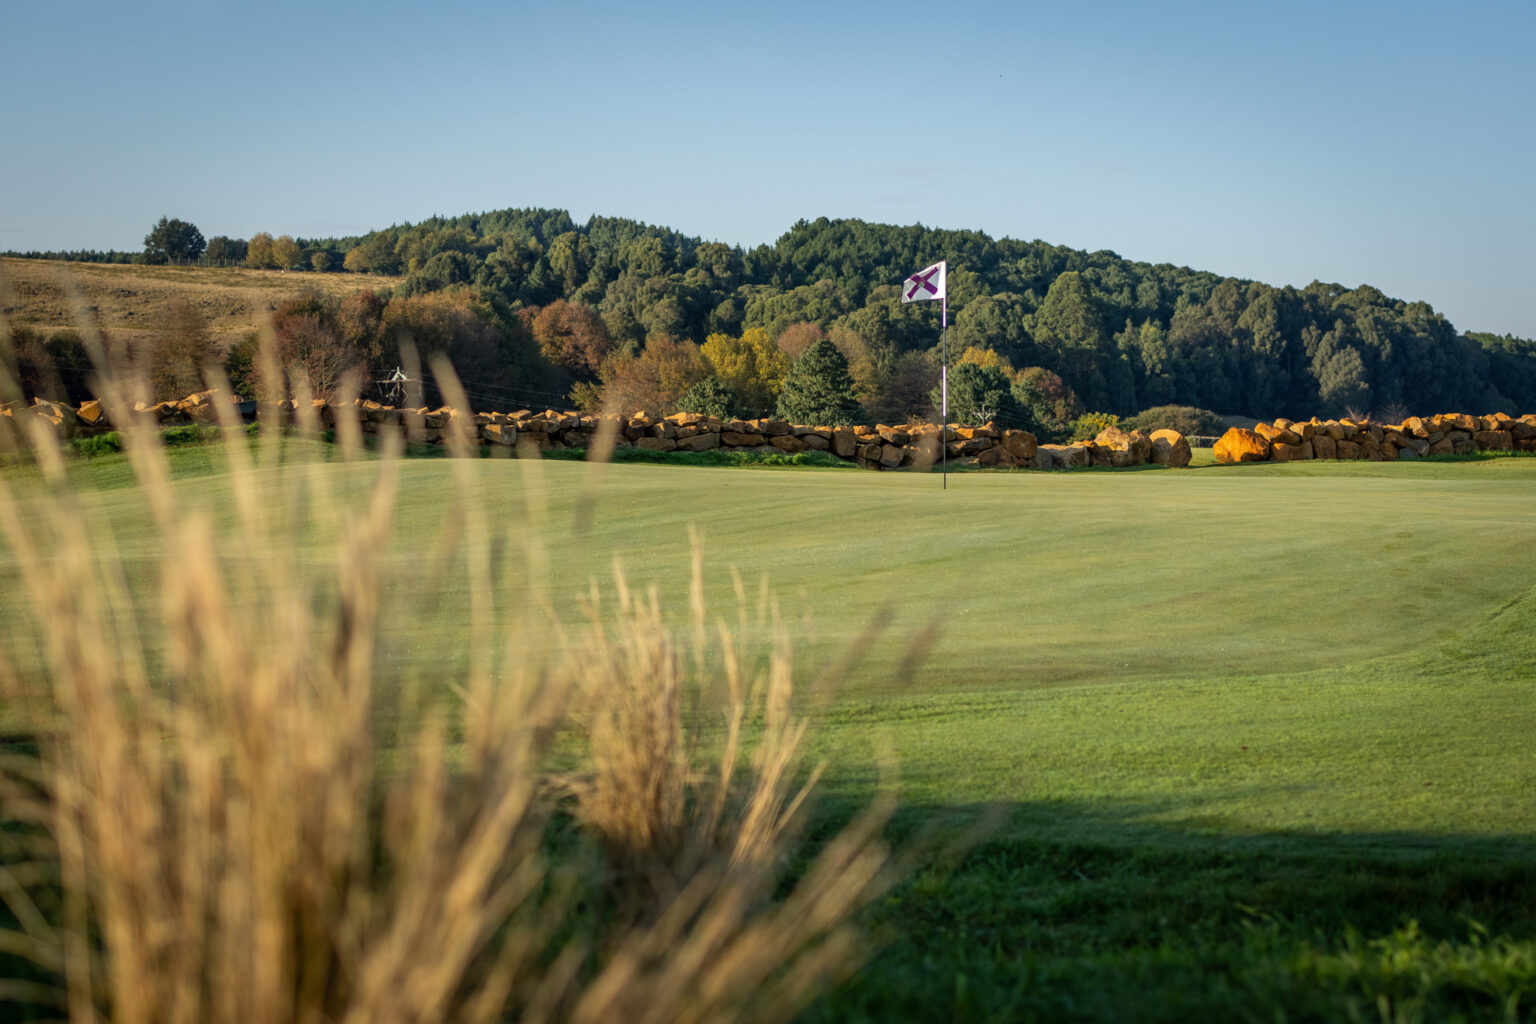
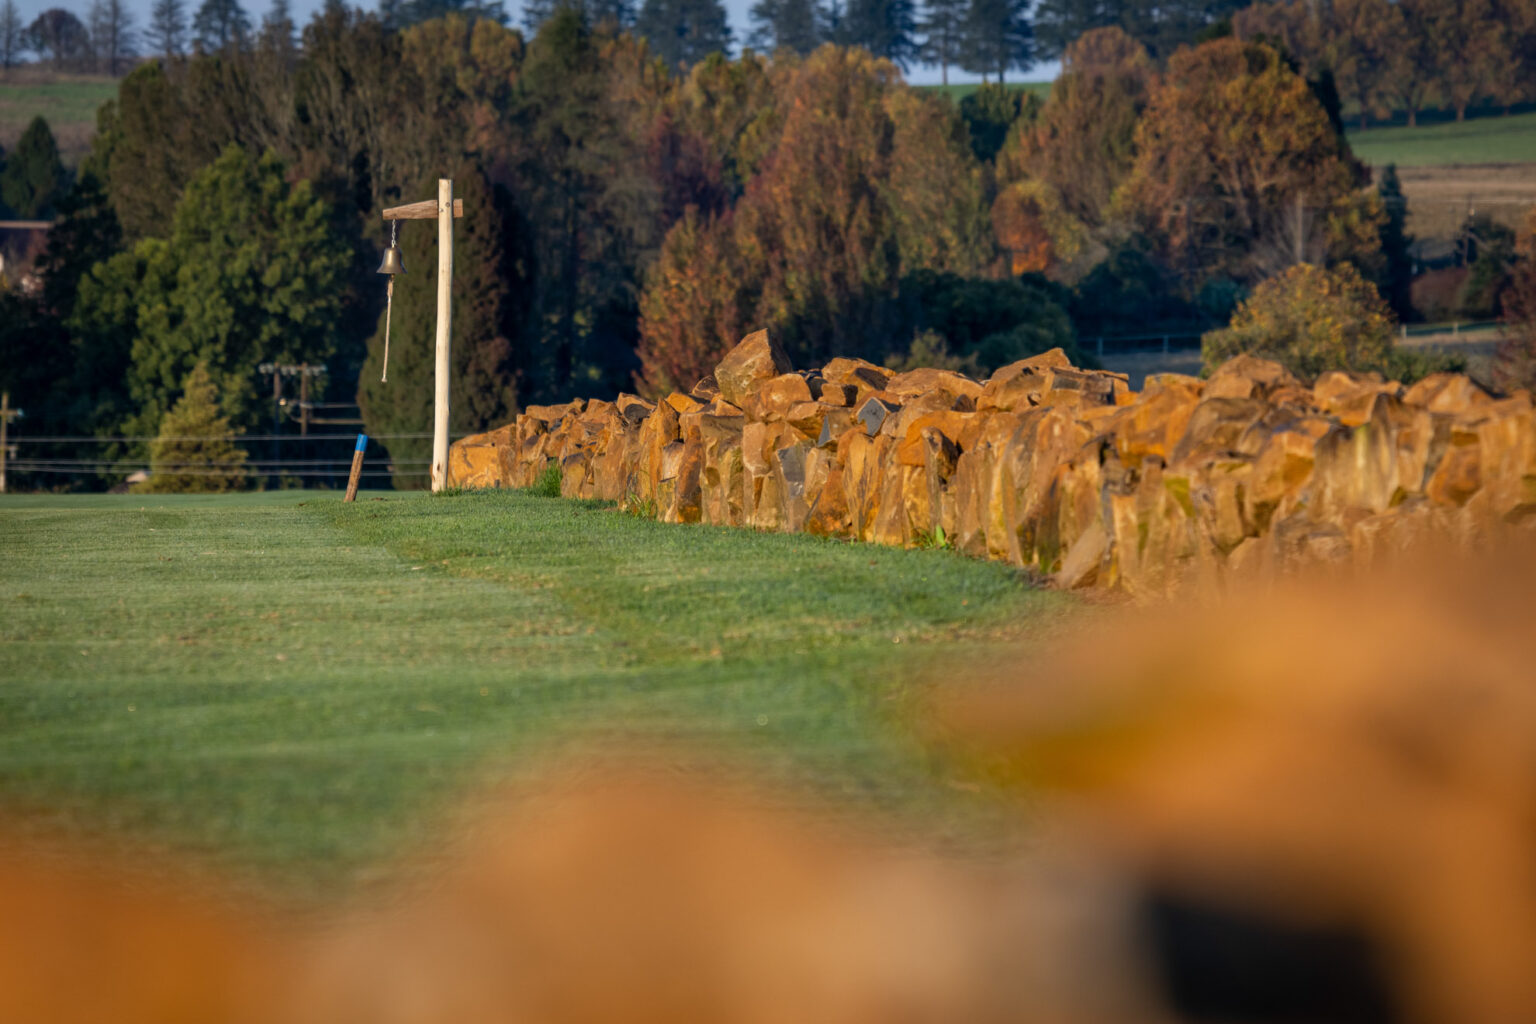
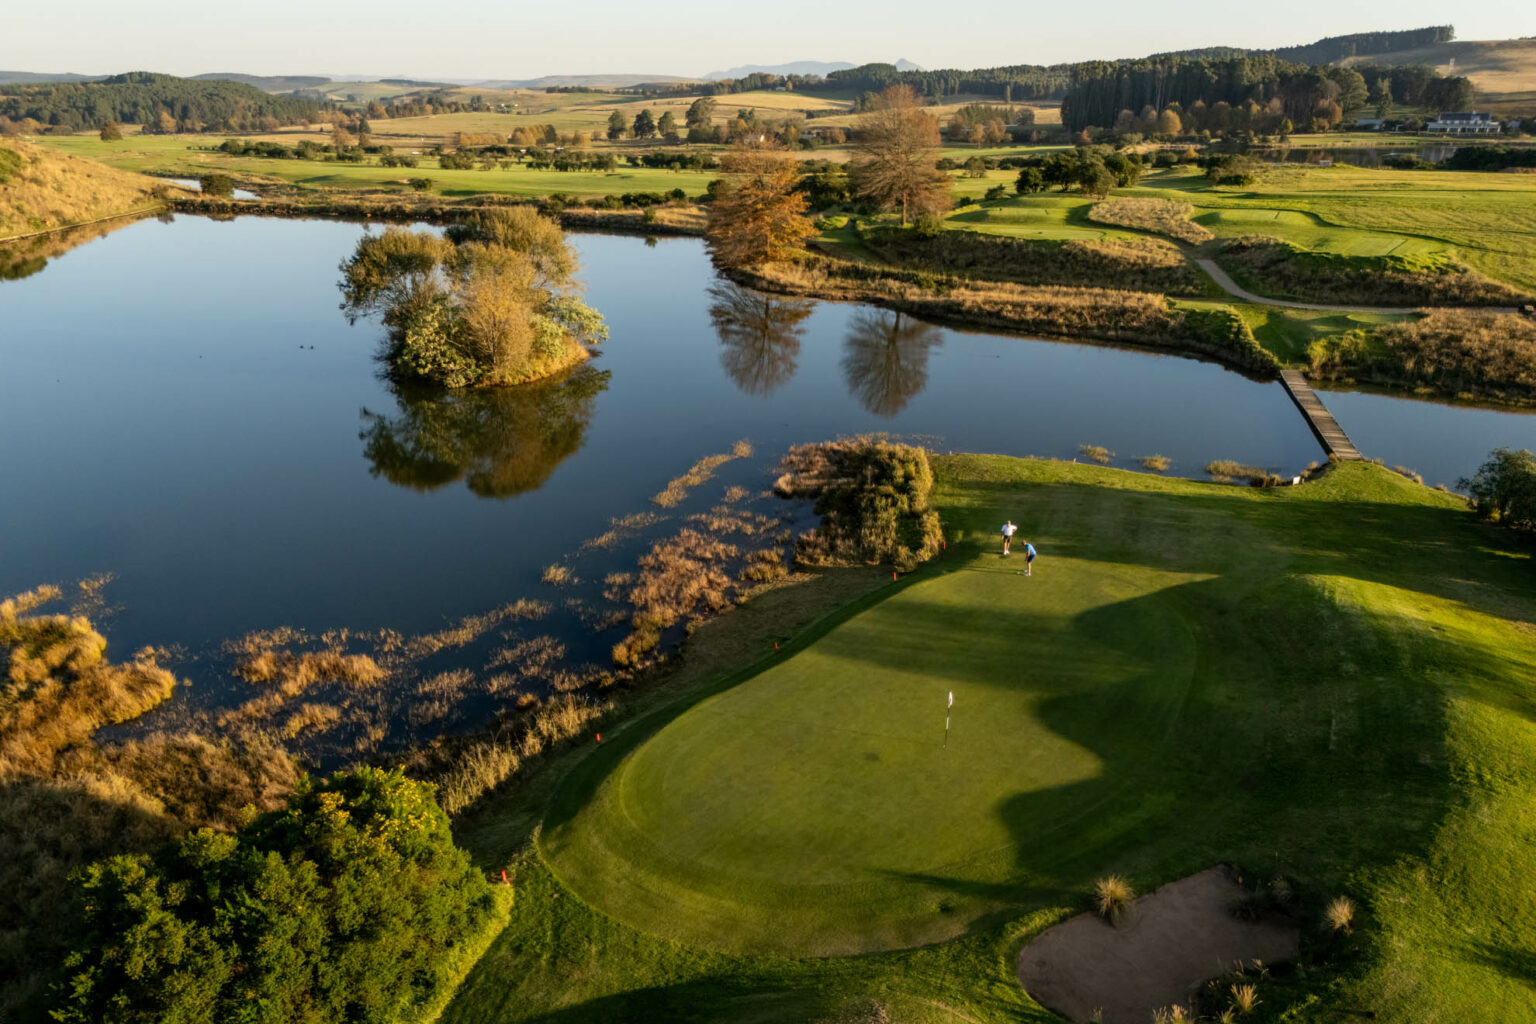
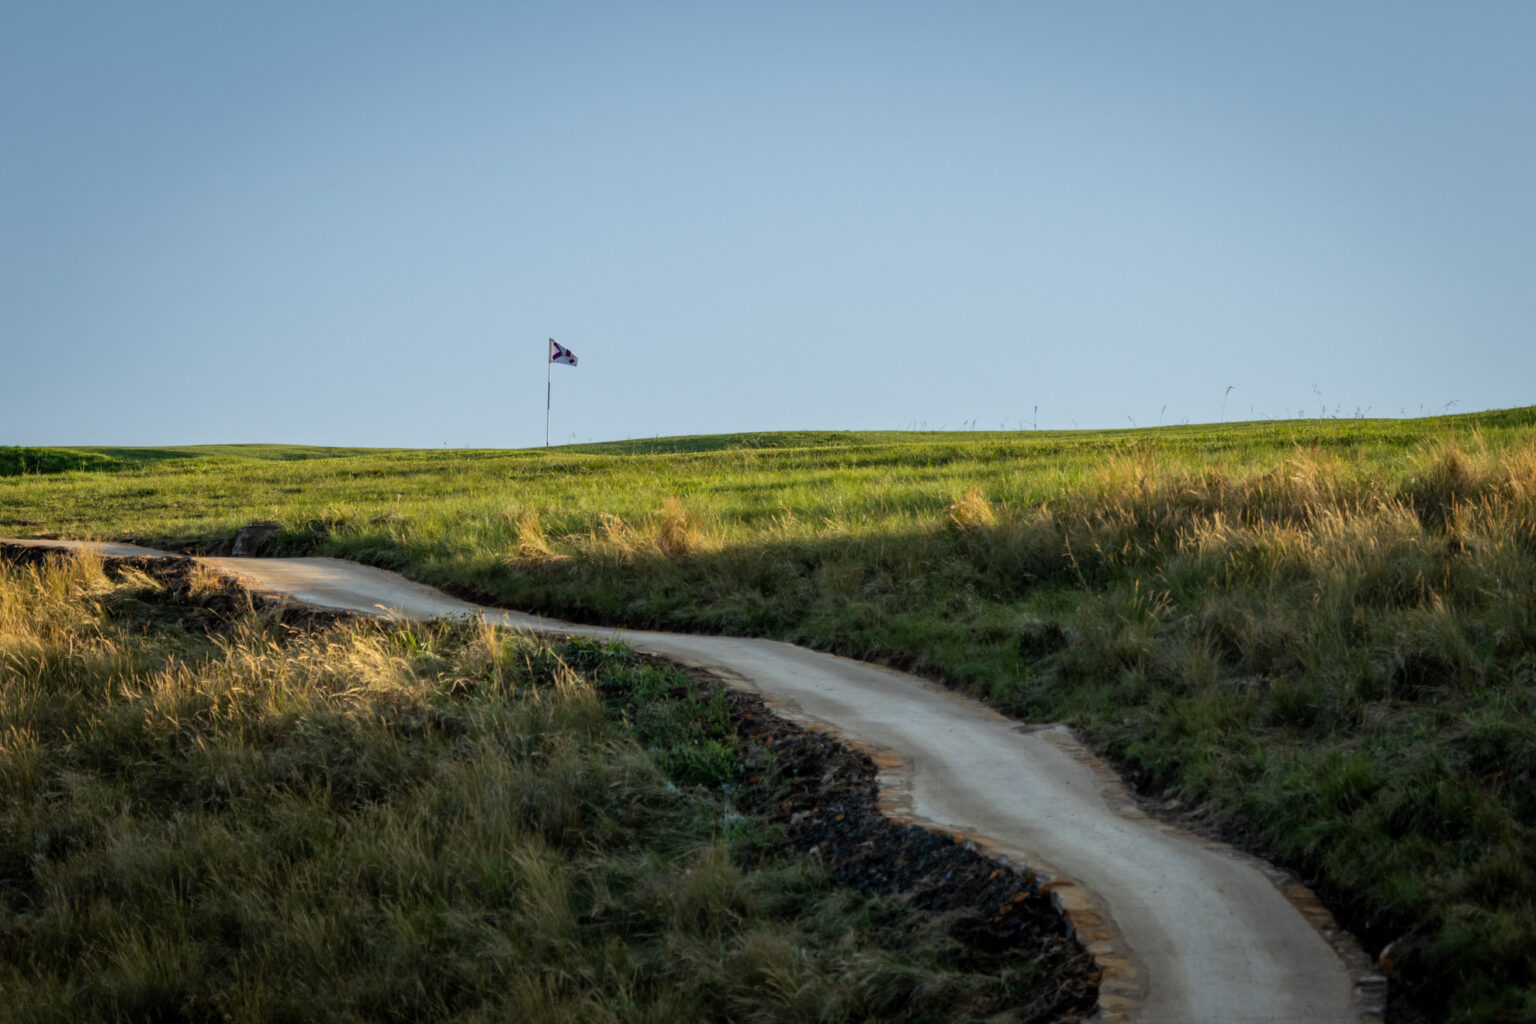
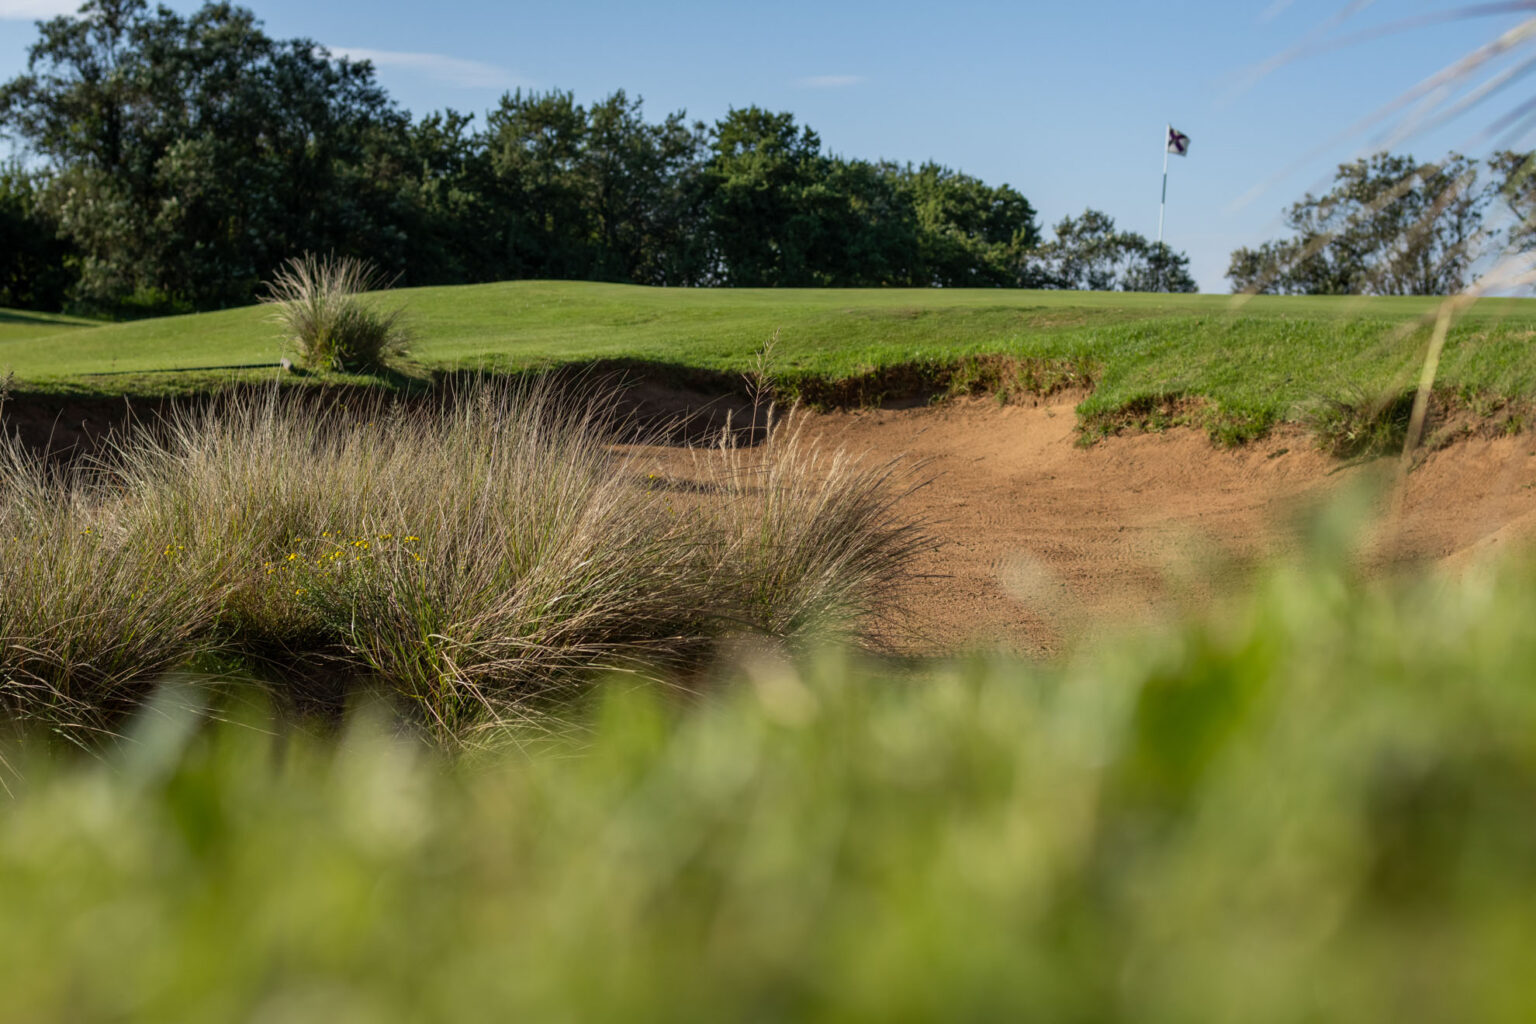
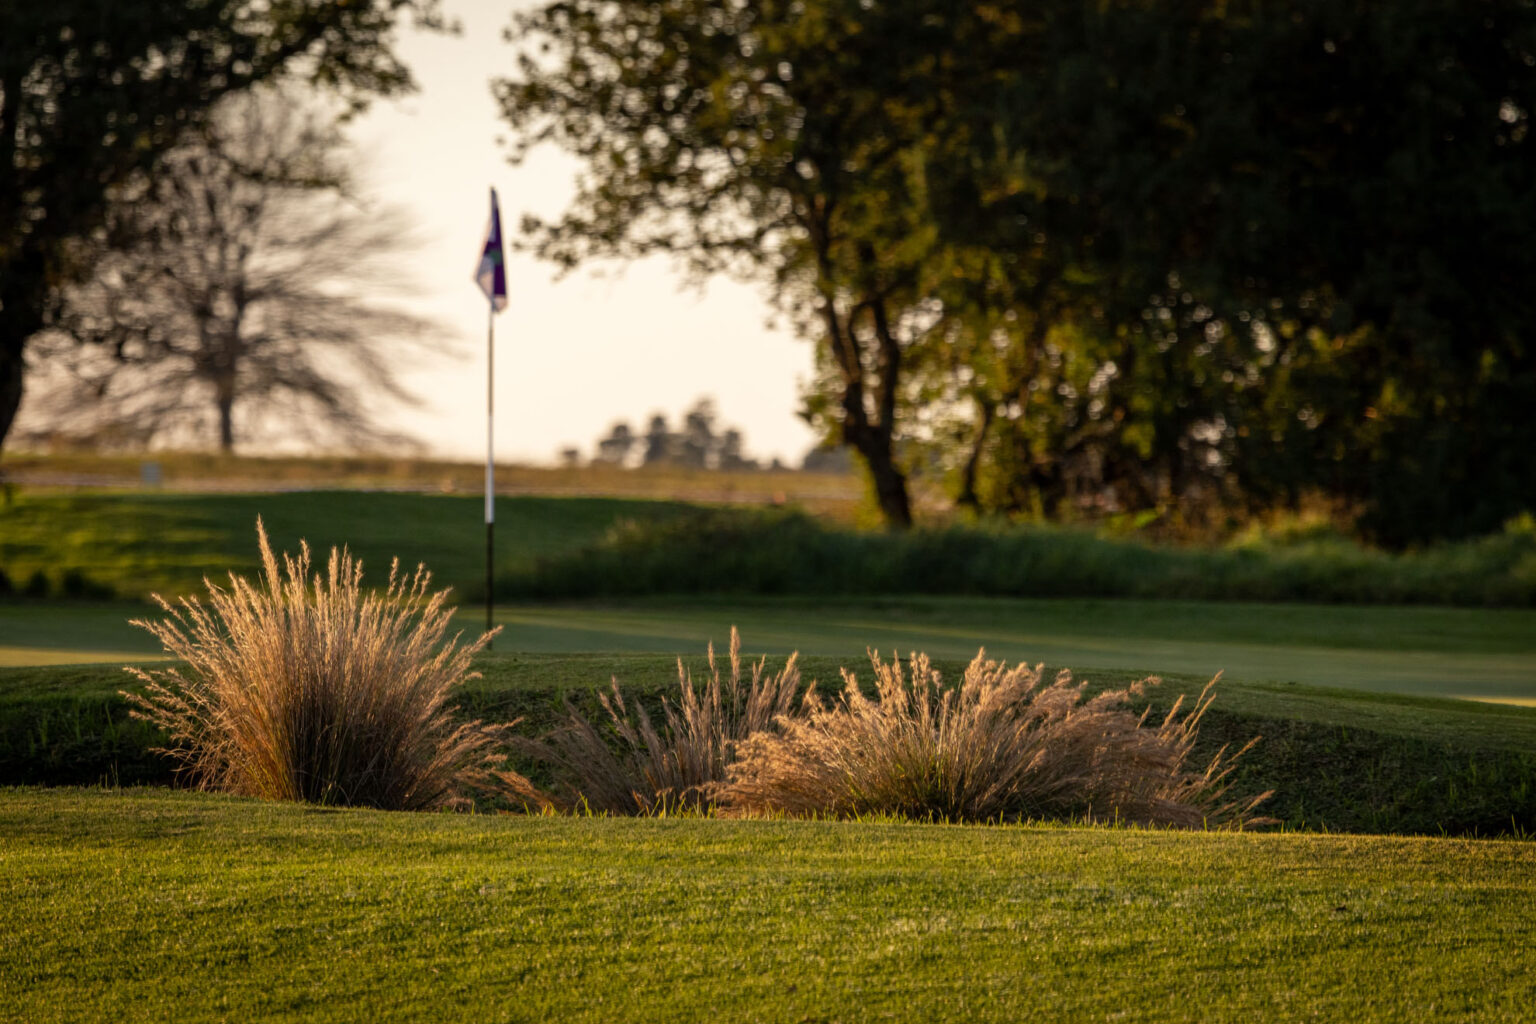
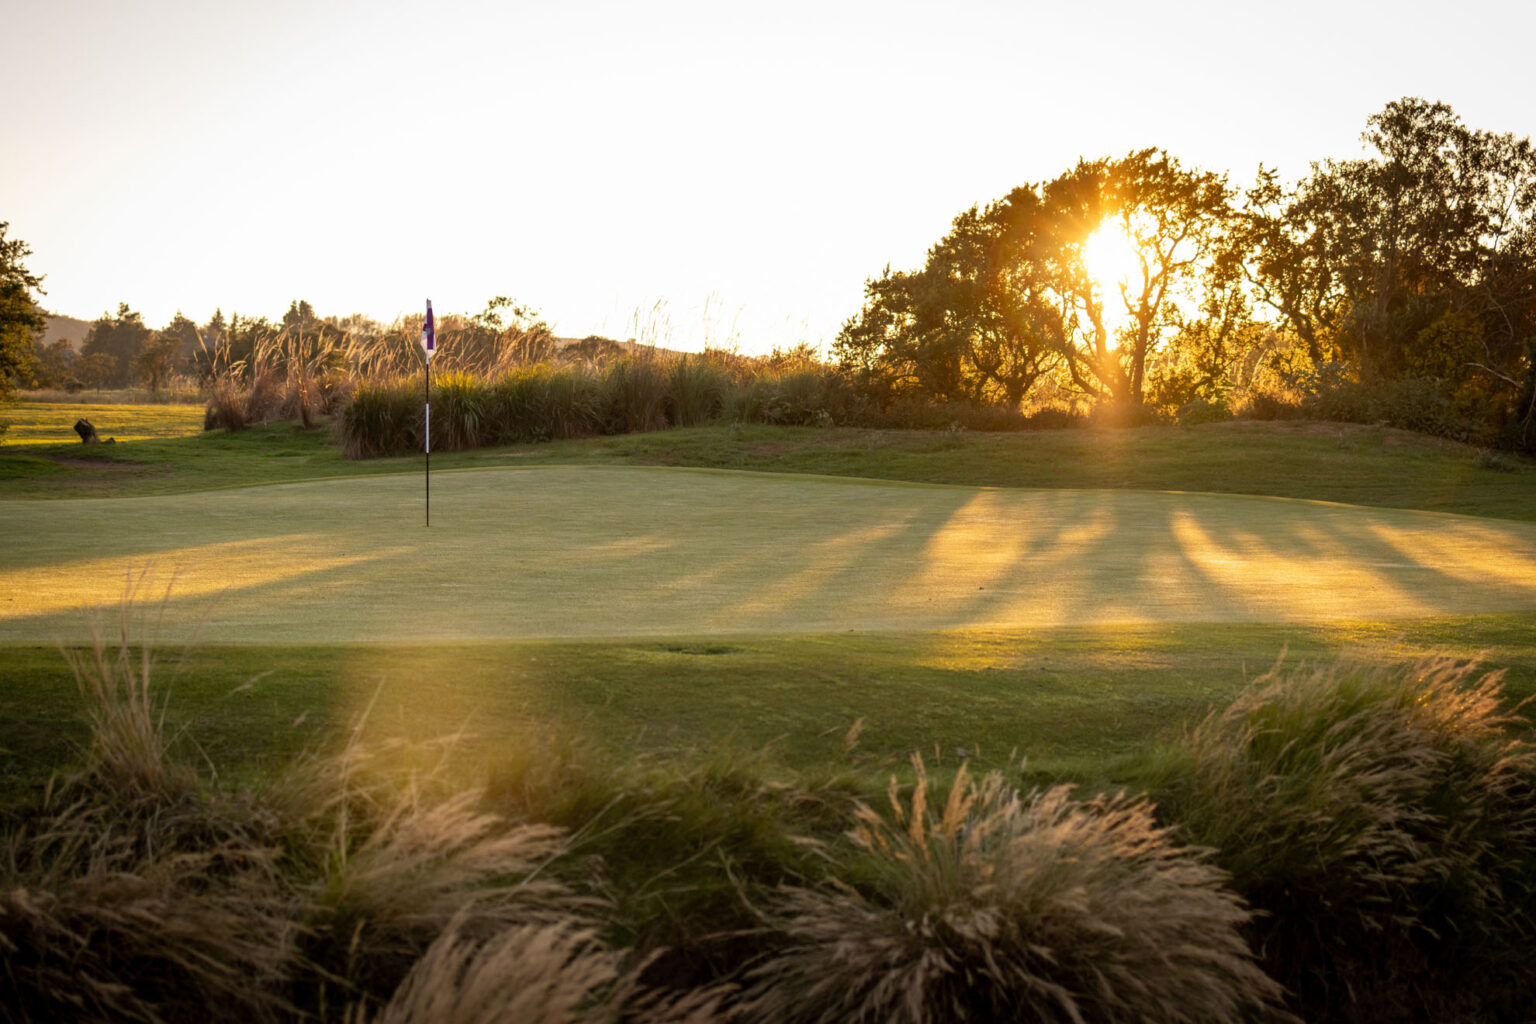
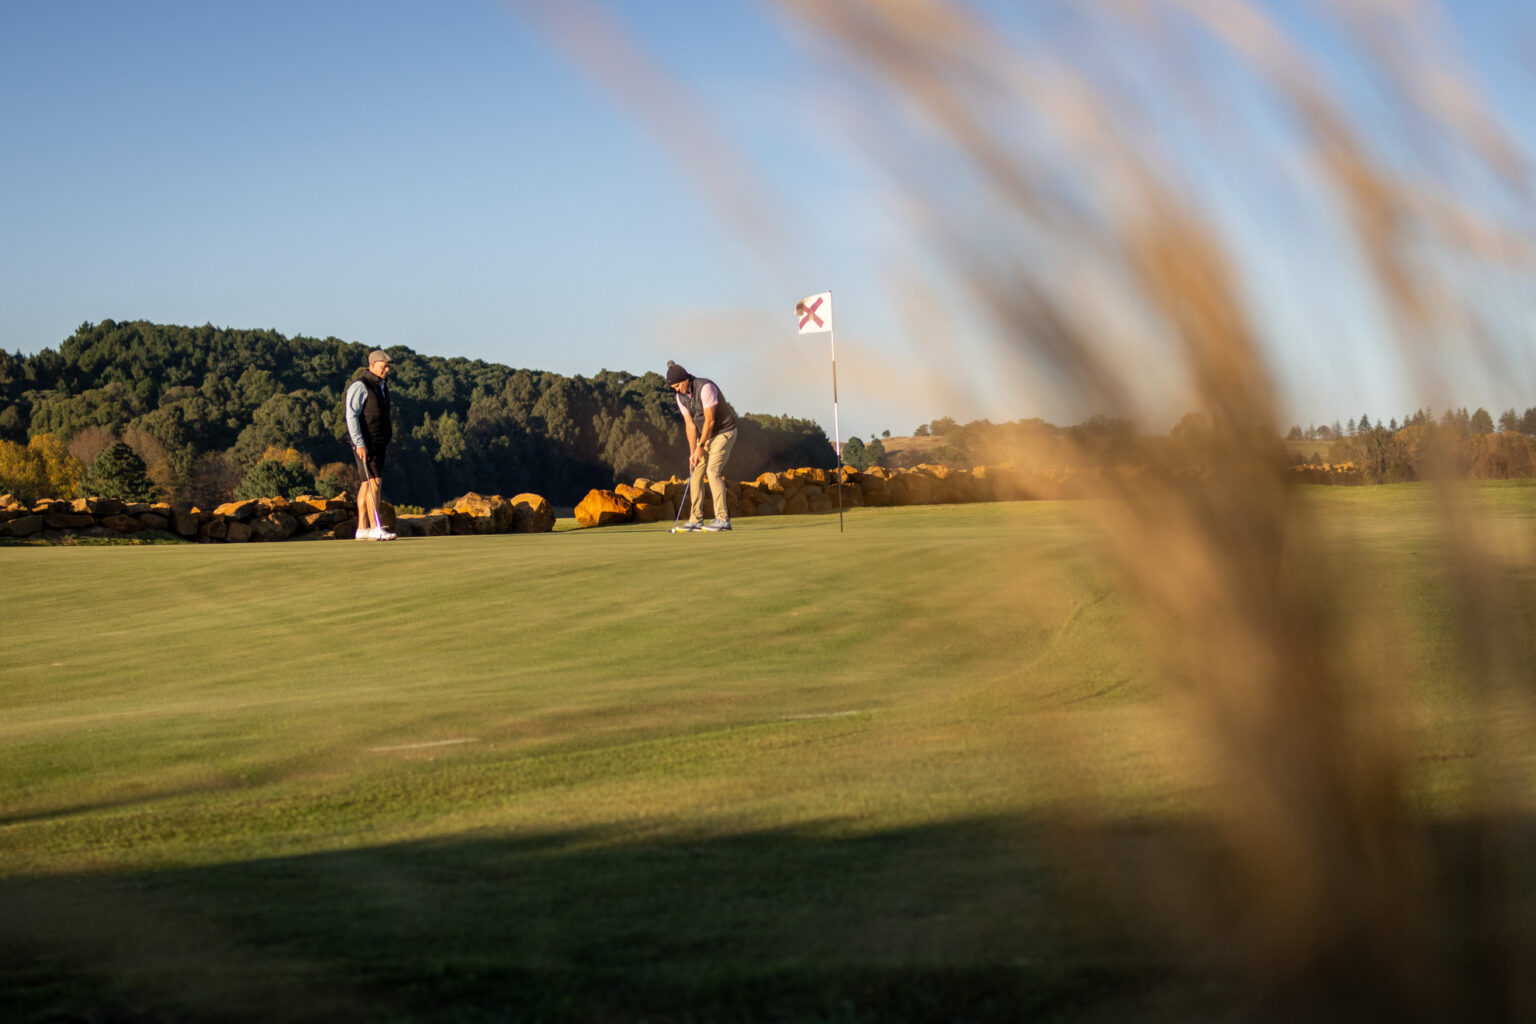
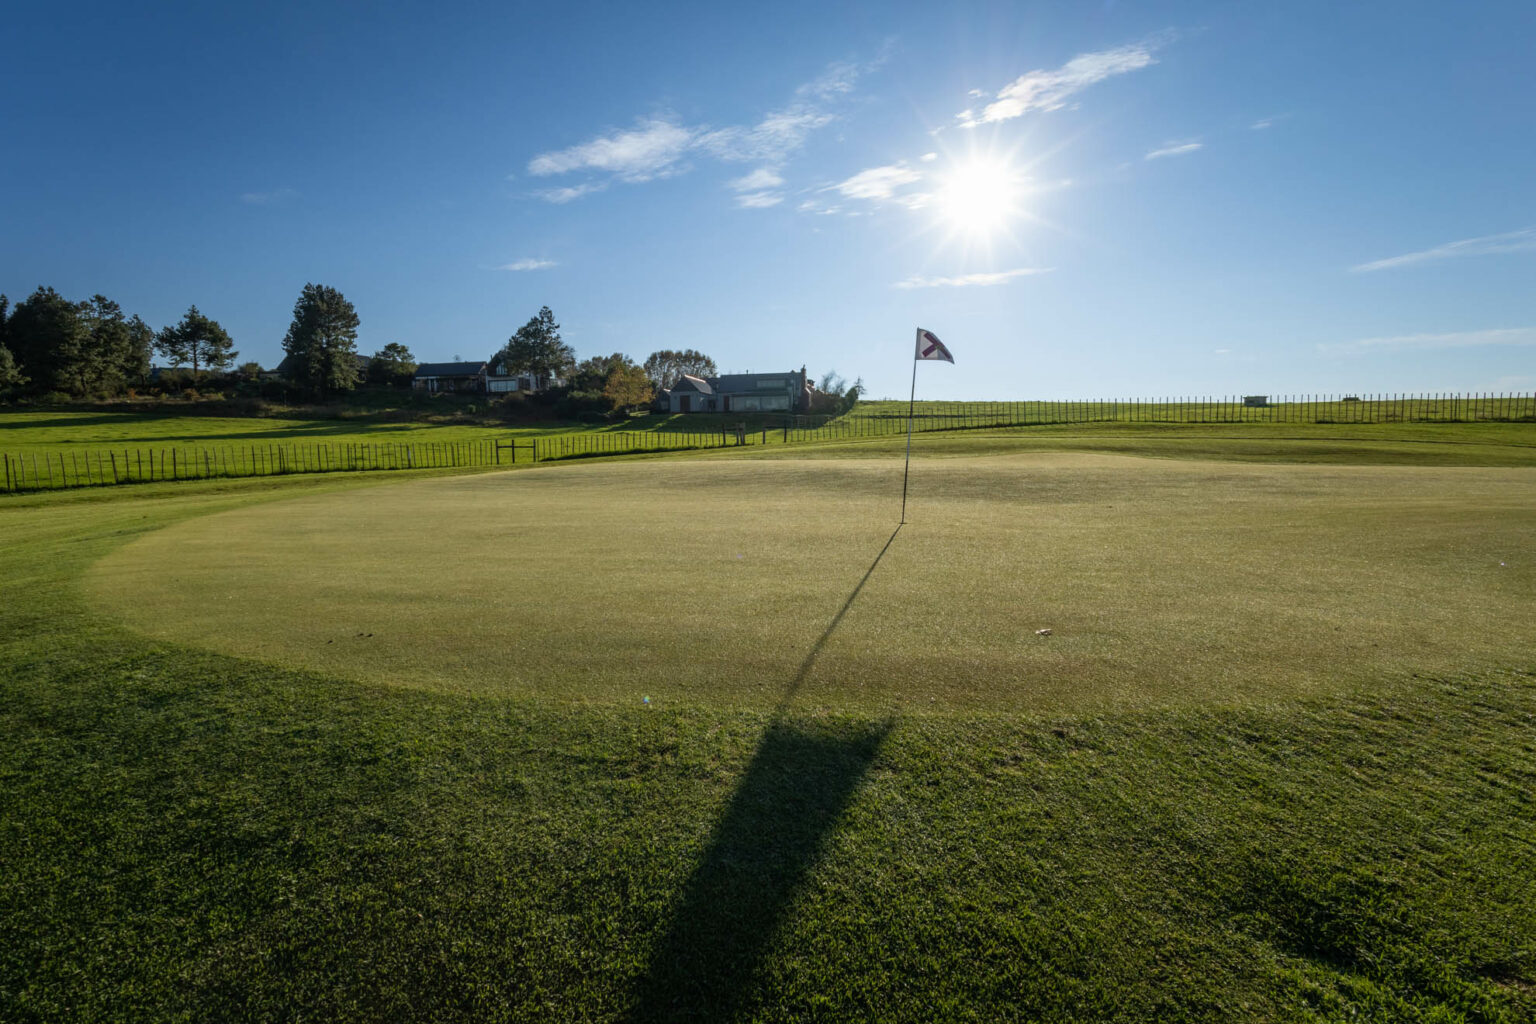
Our golf course is a testament to the timeless beauty and heritage of golf. Pietermaritzburg attorney and golf course enthusiast, Guy Smith, drew inspiration from classic designs to create a simple yet visually stunning venue that is loved by traditionalists. Running over undulating terrain with bent-grass greens, the course is reminiscent of the links of Scotland and some of the American courses, such as Pinehurst and Merion.
COURSE DESIGN In building Gowrie Farm, Guy identified the following as important elements in classic design:
- Tees, which are close to the ground
- Fairway shapes are dictated by the natural features of the land
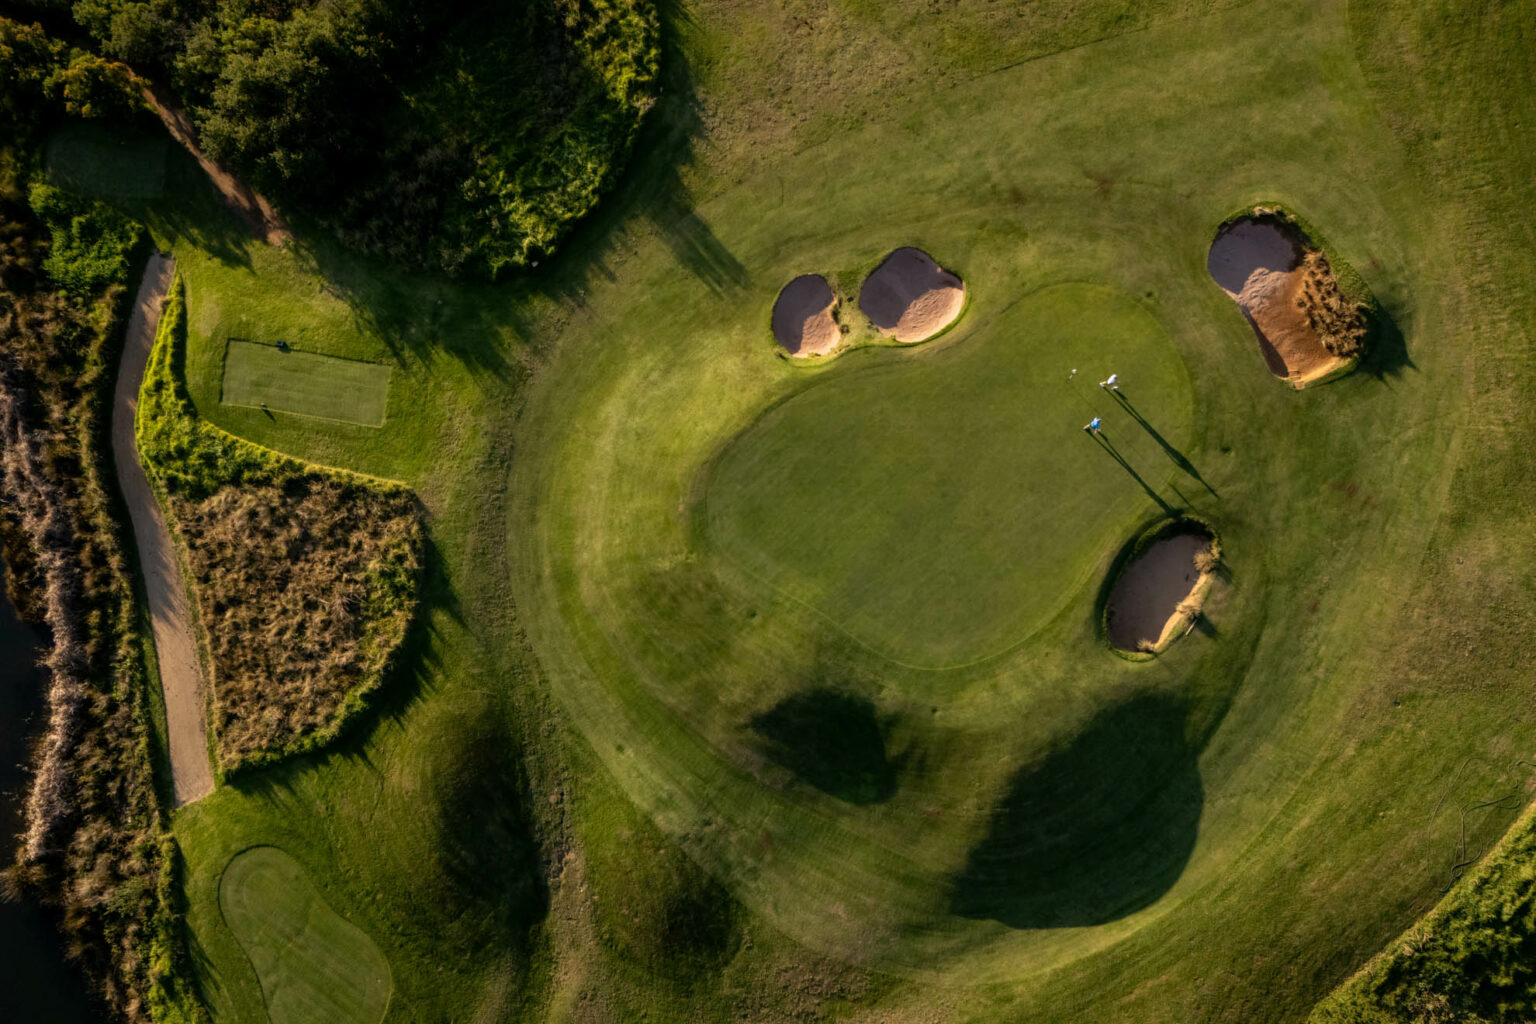
- Push-up greens with interesting run-offs
- Bunkers which are tucked in close to the greens
- Fairway bunkers which dictate a player's choice of option from the tee
This has led to an exciting, traditional course that is enjoyable for the average golfer but tough for the low-handicapped golfer to post a good score!


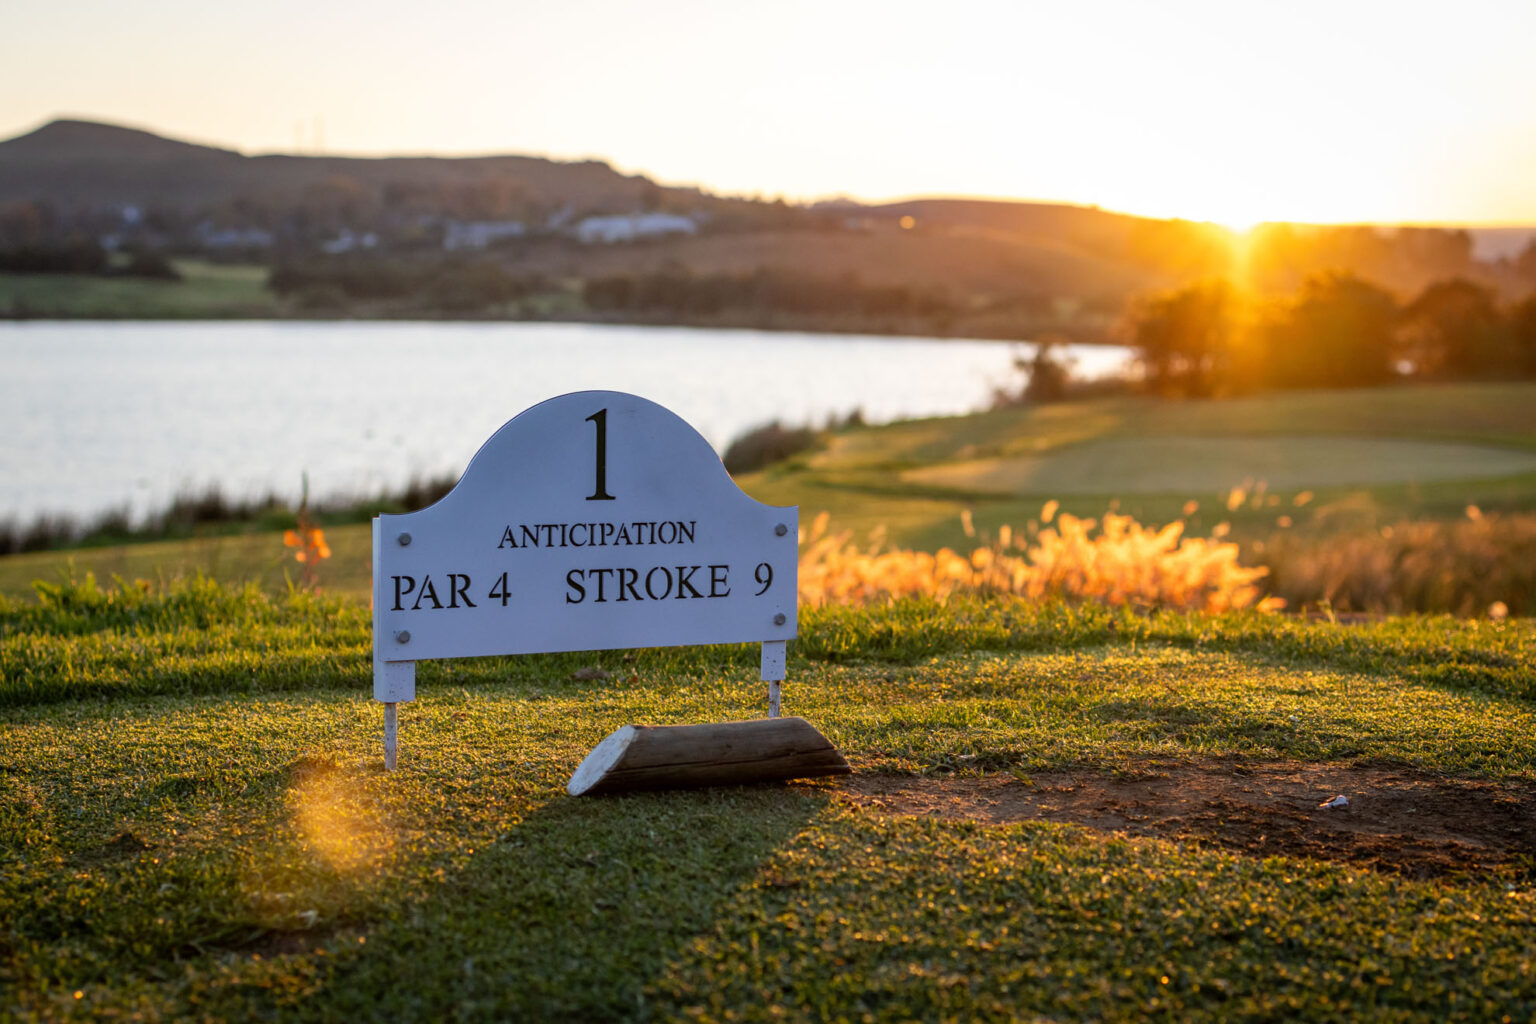
COURSE GUIDE MAPS & TIPS


INSIDER TIPS FROM COURSE DESIGNER GUY SMITH
Our 18 hole golf course presents a distinctive and rewarding challenge, and is possibly very different from those that you normally play. Course architect, Guy Smith, has shared valuable tips on how to make the most of this exceptional layout.

GOLF AT GOWRIE FARM
When you play at Gowrie Farm, you become part of a timeless tradition, with each shot a testament to the enduring spirit of golf. Here, the game is pure, demanding, and authentic.